Showing posts with label makeovers. Show all posts

10 March 2016

A long way to go

It has now been two years since my cancer diagnosis and I am pleased to say that, so far, my recovery has gone well.   I am so thankful to my doctors and family who have all supported me through a difficult time.   Now that my energy levels are returning, I realise just how  draining the whole experience has been and how low my stamina had become.  I did manage to keep my creative life going but sometimes I had to push myself to achieve small things.  However, I am so happy that I now have the desire as well as the energy to throw myself back into what I love doing.

As I look around me, I see all the things that I have been wanting to do, but have been putting off because they were just "too hard".  Recovering these chairs was one such job.  

One of the reasons it was "too hard" was because I couldn't find the fabric I wanted.  I knew that one day I would find it and, sure enough, a trip to the Columbia Road flower market in London of all places, elicited just the fabric I had been searching for.  Tucked away in a small side street I found a shop selling furnishing fabric so once we had stocked up with tulips and hyacinths, I stocked up with my new elusive fabric.


Once home in Australia, I didn't waste too much time before I applied said fabric to the chairs and I think the result speaks for itself.


I can't believe I had to travel so far to find something so simple.

03 December 2015

Queen Anne table makeover and a recipe

It's been a long time since anything received a makeover and I was beginning to worry that the tin of white paint might have dried up.

Mum gave me this little Queen Anne side table some time ago and it has been waiting patiently for its makeover, which, as you can see, it is in dire need of, or should that be - of which it is in dire need.  


Very dark and dreary isn't it.


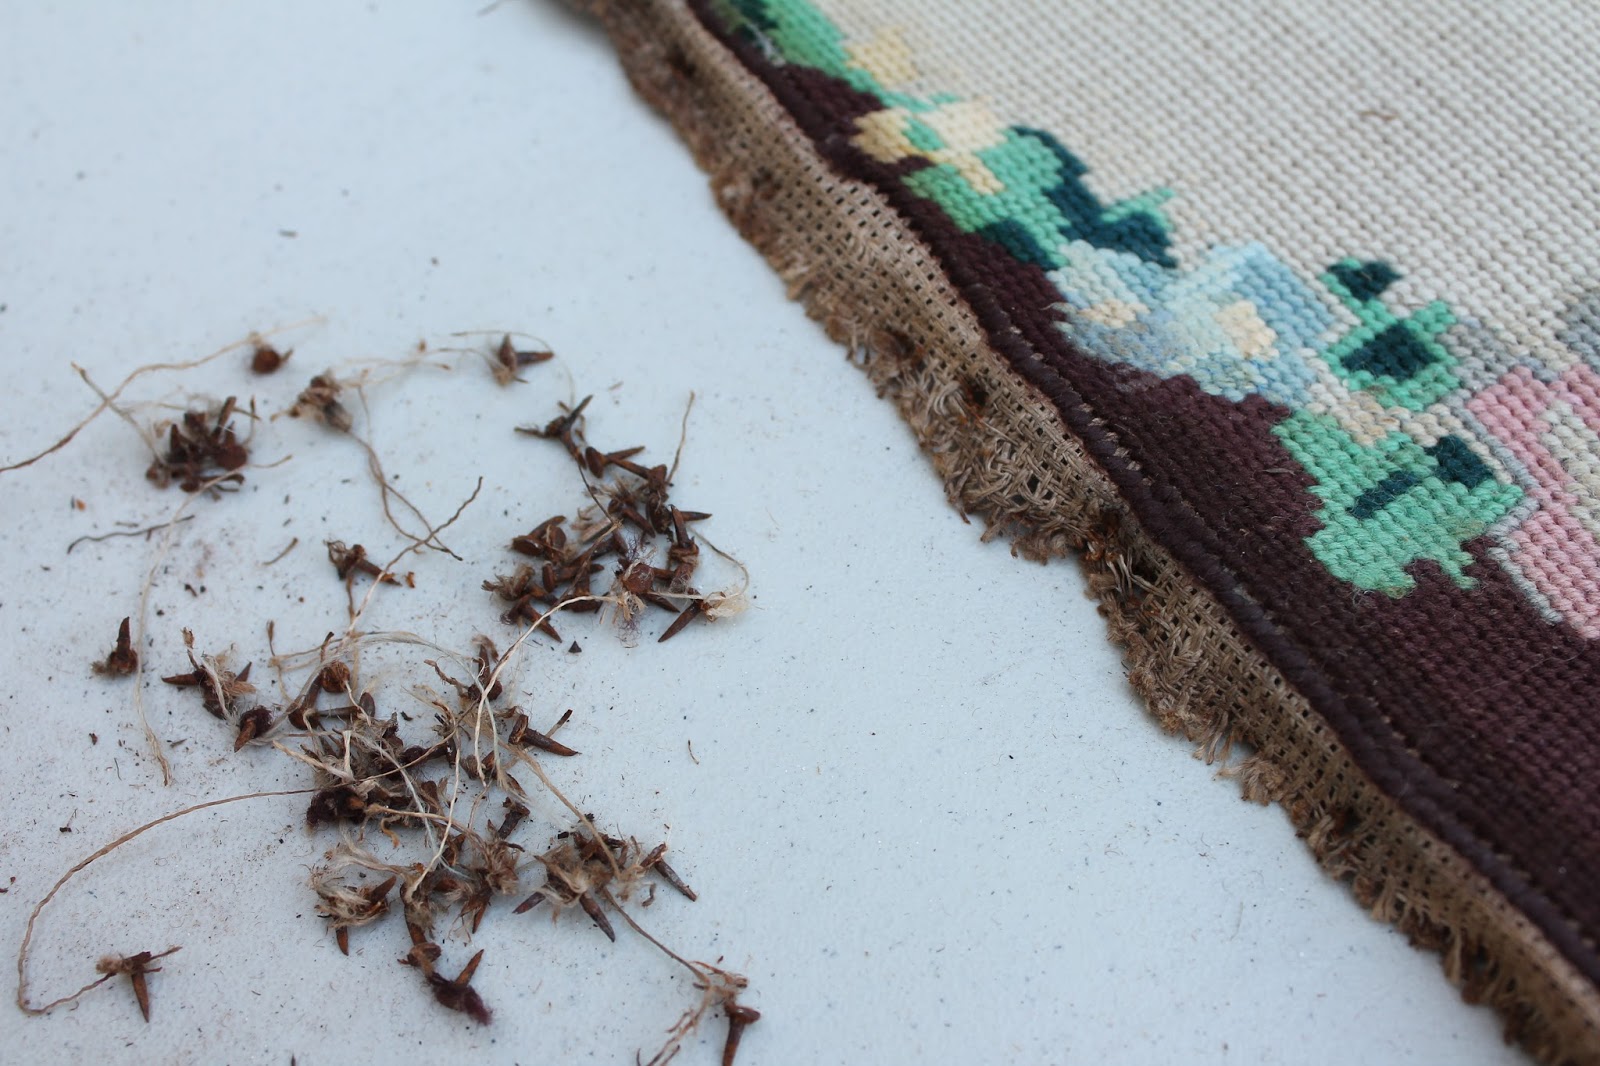
It has a tapestry under glass which sadly has seen better days.  Mum did the tapestry during the second World War when tapestry wool was impossible to find and she used regular knitting wool. The moths have been enjoying it and the table has provided a home for various other creatures.  I hate to throw the tapestry away given its age and provenance, but can't imagine what I can possibly do with it it.  Mum has told me to get rid of it, but despite that it survives.


My first task was to take the table apart to see what I was dealing with.  I didn't want to keep the glass top and I thought this might be a problem which proved to be the case when I had removed it.   I needed a piece of wood but the one currently on the table was too big to fit under the frame.  This wouldn't have been a problem if I had the right tools for the job, but as I think I have mentioned before, the tools in our shed are extremely basic and do not run to fancy saws.  I don't even know what sort of saw I needed for this job, but whatever it was, it definitely doesn't live here.


Using the piece of glass I measured the size I needed on the plywood and then started looking around for something to cut it with.  I remembered  that I had a knife in the kitchen which was supposed to cut anything, even metal.  It was one of those promotional products being demonstrated at the supermarket one day and I got duped into buying it.  You never know when you might need to cut a coin in half as the demonstrator was doing.

So I got out the knife and started sawing.  It cut but oh so slowly and I thought I would be there until doomsday so I had a rethink.


If you are a professional DIYer and you know your way around a toolbox, look away now.  Yes, I got out the pruning saw.  Well, they prune wood don't they and I needed to cut wood.


Again, it cut but very slowly and made a terrible mess of the edges.

I had made a super healthy slice a bit earlier and it needed to go into the oven.  As I thought I would soon be in need of some sustenance, I went inside to cook it and brought the timer outside with me so I wouldn't forget it which I have been known to do.


I went back to my sawing hacking and happened to glance over at the piece of tapestry which I had removed.  What an idiot, it had been attached to a piece of wood exactly the size I needed.  All I had to do was remove the tapestry and I had my table top.


Not pretty!


It was definitely time for a tea break. The slice was out of the oven and was smelling good.  Filled with healthy goodies, puffed rice, chia, pepitas, LSA, almond butter, pine nuts, it would give me the energy I needed to keep going.    All that table top pruning had worn me out!  Recipe here .


Then it was time to put everything back together.  For some reason, I didn't take any photos.  I must have been so energised I just wanted to keep going. A couple of coats of white chalk paint and a light distressing and my little table was looking a lot happier.  I took her inside and put her in the white corner where she provides a wonderful resting place for a jug of roses and a cup of tea.


She didn't turn out too badly for such a rough job and let's face it, roses make anything look beautiful.

Now I am looking around for the next victim and and I don't have  to look far.  They are practically queuing up for a fresh new look.  I just have to find the time.

14 June 2014

Good days and not so good days

Today was a good day.  Some days are not so good so it is important to make the most of those that are.

I have had this urn for some time and had hidden it away in a corner as I no longer liked its dark appearance. Then one day it occurred to me that it would be improved with a coat of chalk paint.


A sunny warm winter day was all the impetus I needed to break open the tin of paint and get out the brushes.


Now my little brown urn has been given a new lease of life and it no longer has to be hidden away.  It looks so good it has been given a more prominent position in the house.  I wonder if a coat of chalk paint would give me a new lease of life?

Should I put it here?


Or here?


26 November 2013

On a mission

If you are as old as me, you will remember the colour 'mission brown'.  It was the colour du jour of the seventies and early eighties.  I recently saw mission brown described as follows:

“The only safe way to approach the colour ‘mission brown’ is either with a heat gun or a wrecking bar… it is that dangerous. Painting over it just hides the horror. The horror remains. Lurking.”

“When I see it I must confess to a wave of overwhelming nausea. Perhaps it’s the work of aliens.”

It reminded me that lurking somewhere in the garage was this little brown stool which had received the mission brown treatment way back when.


So, to avoid an overwhelming nausea, I got out the chalk paint and immediately my little stool looked much happier.


Not content with that I made an attempt at transfer printing onto wood.  I got this graphic from The Graphics Fairy and I have to say my attempts were not a great success.    However, I think that the slightly very distressed look is not too bad on this little stool and gives it an aged appearance which suits its style.  A bit like its owner really.

Hopefully, there are no longer any horrors lurking.

22 September 2013

Why not ?

When John saw these little glass jars/bottles on the kitchen bench dribbling blue glue everywhere, his first question was WHY!! (You would think he would be used to strange goings on by now.)


Well, I say why not. If you have some plain glass bottles and you would like blue ones instead, then all you need to do is mix  food colouring through some PVA glue, swirl it around inside said bottle and let the excess glue drain away.  Leave them for a few days to dry completely.


The glue will dry clear and you are left with two pretty bottles. They are suitable for decoration only and if you wanted to put flowers in them you would need to use glass paint. For a quick, easy and cheap alternative to glass paint, I think this method works well and they look so pretty.

17 September 2013

Ugly duckling to a white swan

This chest of drawers has been in the family for many years and has had several owners. It has now come to live with me and, as it was in dire need of some TLC, it was time to get out the pot of white paint.


I was keen to try a new chalk paint I had heard about which is specifically designed for painting furniture.
 

It requires little or no preparation and will paint over virtually any surface. Pretty big claims, but no sanding or undercoating sounded very appealing. The only preparation I did do was to remove the old handles, fill the holes and sand them back.
 

Then I applied two coats of the chalk paint which is the recommended amount for good coverage. I thought it could do with a further coat so I ended up applying three coats in all and followed that up with a soft wax which gave the piece a nice sheen. The paint certainly lives up to its claims, although I do think the end result is a little patchy. However, that might just be the way I have applied the paint as all the reviews I have read about it have been full of praise and I am hoping that I am the only one who will notice this.  I added some new burnished gold handles then took it inside and prettied it up.


The edges of the piece were distressed to gave it a bit of definition and this reduced the all-white look.


All in all, I am very happy with the finished result.


14 July 2013

Meet Maeve


This is Maeve.  She used to be a boring white polystyrene foam head and I thought she would look much better if she was embellished so I decided to decoupage her. 


She is covered in the words of Maeve Binchy so, naturally, I called her Maeve.   This was my first attempt at decoupage and as you can see poor Maeve has a few wrinkles, but she is in good company in this house.


Today I put her to good use as a model for my Downton Hat.  I saw this pattern here and loved it so much I had to knit it.  To be honest, it looks better on Maeve than it does on me, but I still love it.


31 March 2013

Repurposed table

 
This little folding table has been sitting in the garage for years without a job to do.
 
While wandering through blogland recently I came across a wonderful use for my table and turned it into an ironing board.  Some wadding, a piece of fabric and a staple gun is all that is required.


Now it sits happily next to my sewing machine and when I want to press something all I have to do is swivel in my chair and the iron is at my fingertips.  Saves having to get up everytime (I must be getting lazy).


16 October 2012

Quilt cupboard

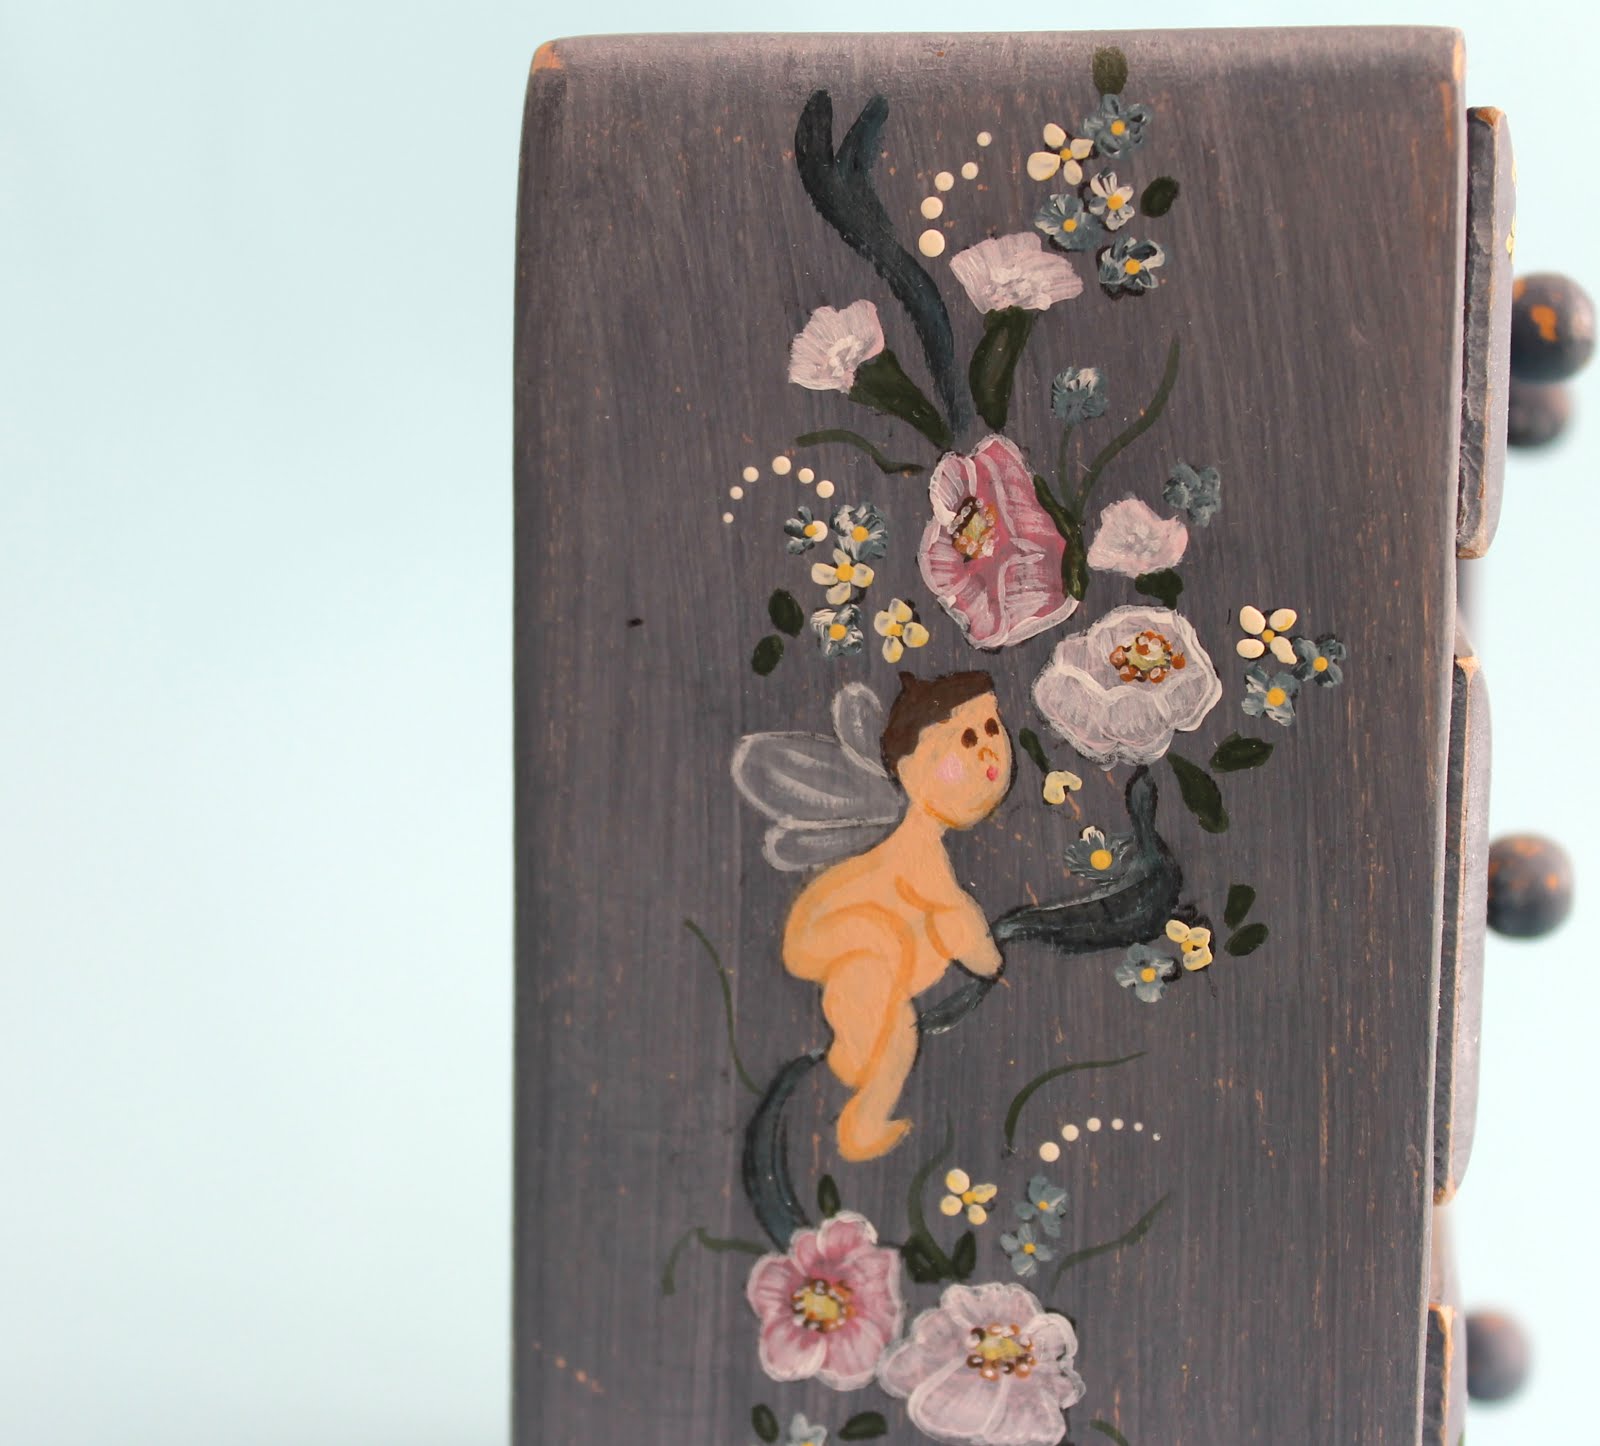
When I was a little girl, I used this tiny cupboard for all my little treasures. It was painted in a rather garish pink colour and had golden plastic handles, but I thought it was wonderful. Somehow, it has survived many house moves, two little girls of my own and a few ruthless purges of "stuff". Some time ago, in my folk-art phase, I re-painted it in a much kinder blue colour, replaced the gold handles and added some deformed cherubs and flowers.
I never did master the art of folk-art painting as you can see, but I got very good at these little graduated dots which I used on everything.
I filled my little cupboard with tiny pieces of fabric to resemble quilts and dreamed of one day having a proper cupboard just for quilts.

**********

I love reading home and garden magazines and I have lost count of the number of times I have seen pictures in these magazines of a beautiful piece of furniture which is casually described as a 'junk shop find'. Usually all I can find in junk shops is junk so I was delighted a few months ago when I spotted this cupboard in our local junk shop and I knew I had found my long dreamed for quilt cupboard.
Of course, nothing comes easy and yet another major renovation job was called for. The bottom of the cupboard and drawers had been lined with all manner of tacky material, from linoleum to newspaper which featured some very attractive fashion from 1965.
Removing these revealed a long lost sweet wrapper and two tram tickets.
As Perth has not had trams operating since 1958, I knew my cupboard was at least 54 years old and, judging from the quality of the wood, I think it would probably qualify as a piece of depression-era furniture.
I removed the rather ugly handles and, as I didn't have the stamina (or the equipment) to sand it back to the bare wood, I gave it a light sand with sandpaper and then applied two coats of sealer/primer.
Two layers of top coat and my cupboard was looking a lot better.
Now it was time to sweeten things up inside. I bought some pretty wallpaper and lined all the inside surfaces.
Then I replaced the ugly handles with pretty roses.

Now it was time to bring it inside and give it some quilts.
I love it - and there is not a deformed cherub in sight!