
It's been a long time since anything received a makeover and I was beginning to worry that the tin of white paint might have dried up.
Mum gave me this little Queen Anne side table some time ago and it has been waiting patiently for its makeover, which, as you can see, it is in dire need of, or should that be - of which it is in dire need.

Very dark and dreary isn't it.

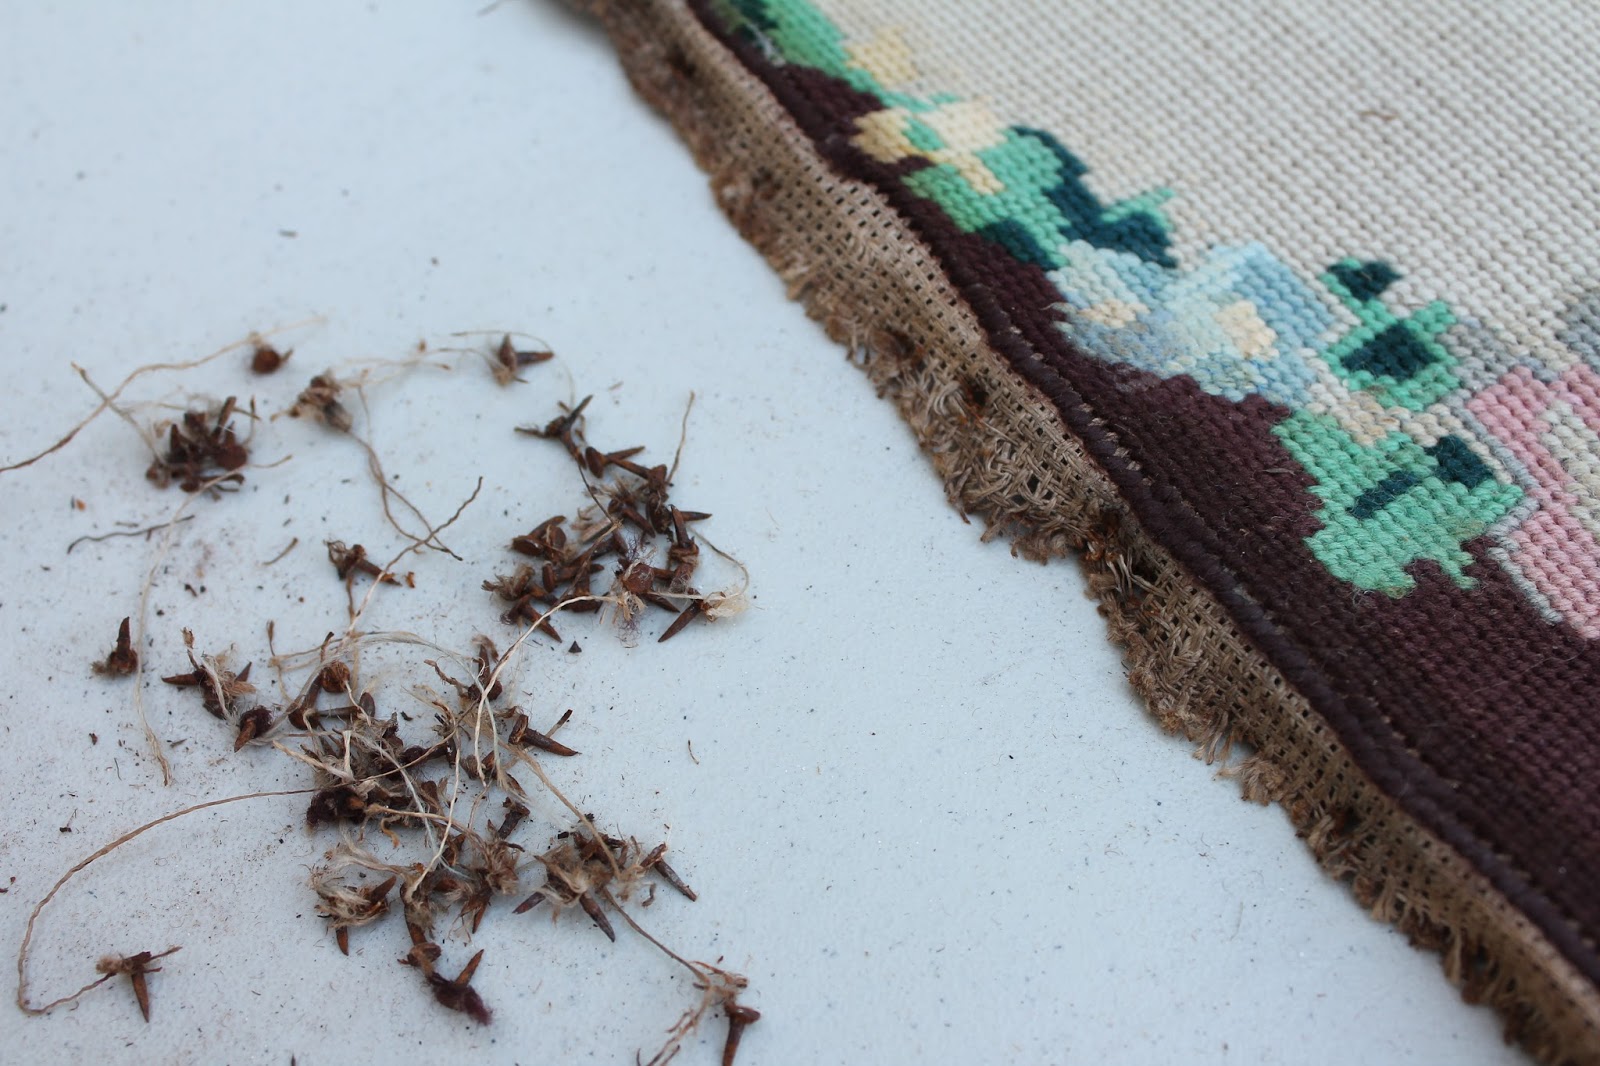
It has a tapestry under glass which sadly has seen better days. Mum did the tapestry during the second World War when tapestry wool was impossible to find and she used regular knitting wool. The moths have been enjoying it and the table has provided a home for various other creatures. I hate to throw the tapestry away given its age and provenance, but can't imagine what I can possibly do with it it. Mum has told me to get rid of it, but despite that it survives.

My first task was to take the table apart to see what I was dealing with. I didn't want to keep the glass top and I thought this might be a problem which proved to be the case when I had removed it. I needed a piece of wood but the one currently on the table was too big to fit under the frame. This wouldn't have been a problem if I had the right tools for the job, but as I think I have mentioned before, the tools in our shed are extremely basic and do not run to fancy saws. I don't even know what sort of saw I needed for this job, but whatever it was, it definitely doesn't live here.


Using the piece of glass I measured the size I needed on the plywood and then started looking around for something to cut it with. I remembered that I had a knife in the kitchen which was supposed to cut anything, even metal. It was one of those promotional products being demonstrated at the supermarket one day and I got duped into buying it. You never know when you might need to cut a coin in half as the demonstrator was doing.
So I got out the knife and started sawing. It cut but oh so slowly and I thought I would be there until doomsday so I had a rethink.


I had made a super healthy slice a bit earlier and it needed to go into the oven. As I thought I would soon be in need of some sustenance, I went inside to cook it and brought the timer outside with me so I wouldn't forget it which I have been known to do.

I went back to my


It was definitely time for a tea break. The slice was out of the oven and was smelling good. Filled with healthy goodies, puffed rice, chia, pepitas, LSA, almond butter, pine nuts, it would give me the energy I needed to keep going. All that table top pruning had worn me out! Recipe here .


Then it was time to put everything back together. For some reason, I didn't take any photos. I must have been so energised I just wanted to keep going. A couple of coats of white chalk paint and a light distressing and my little table was looking a lot happier. I took her inside and put her in the white corner where she provides a wonderful resting place for a jug of roses and a cup of tea.


She didn't turn out too badly for such a rough job and let's face it, roses make anything look beautiful.
Now I am looking around for the next victim and and I don't have to look far. They are practically queuing up for a fresh new look. I just have to find the time.
2 comments:
Another amazing few days' work but so satisfying I'd imagine! The table and the slice both look fantastic. Well done. Was the slice delicious?
Yes, the slice was delicious and healthy too!
Post a Comment